

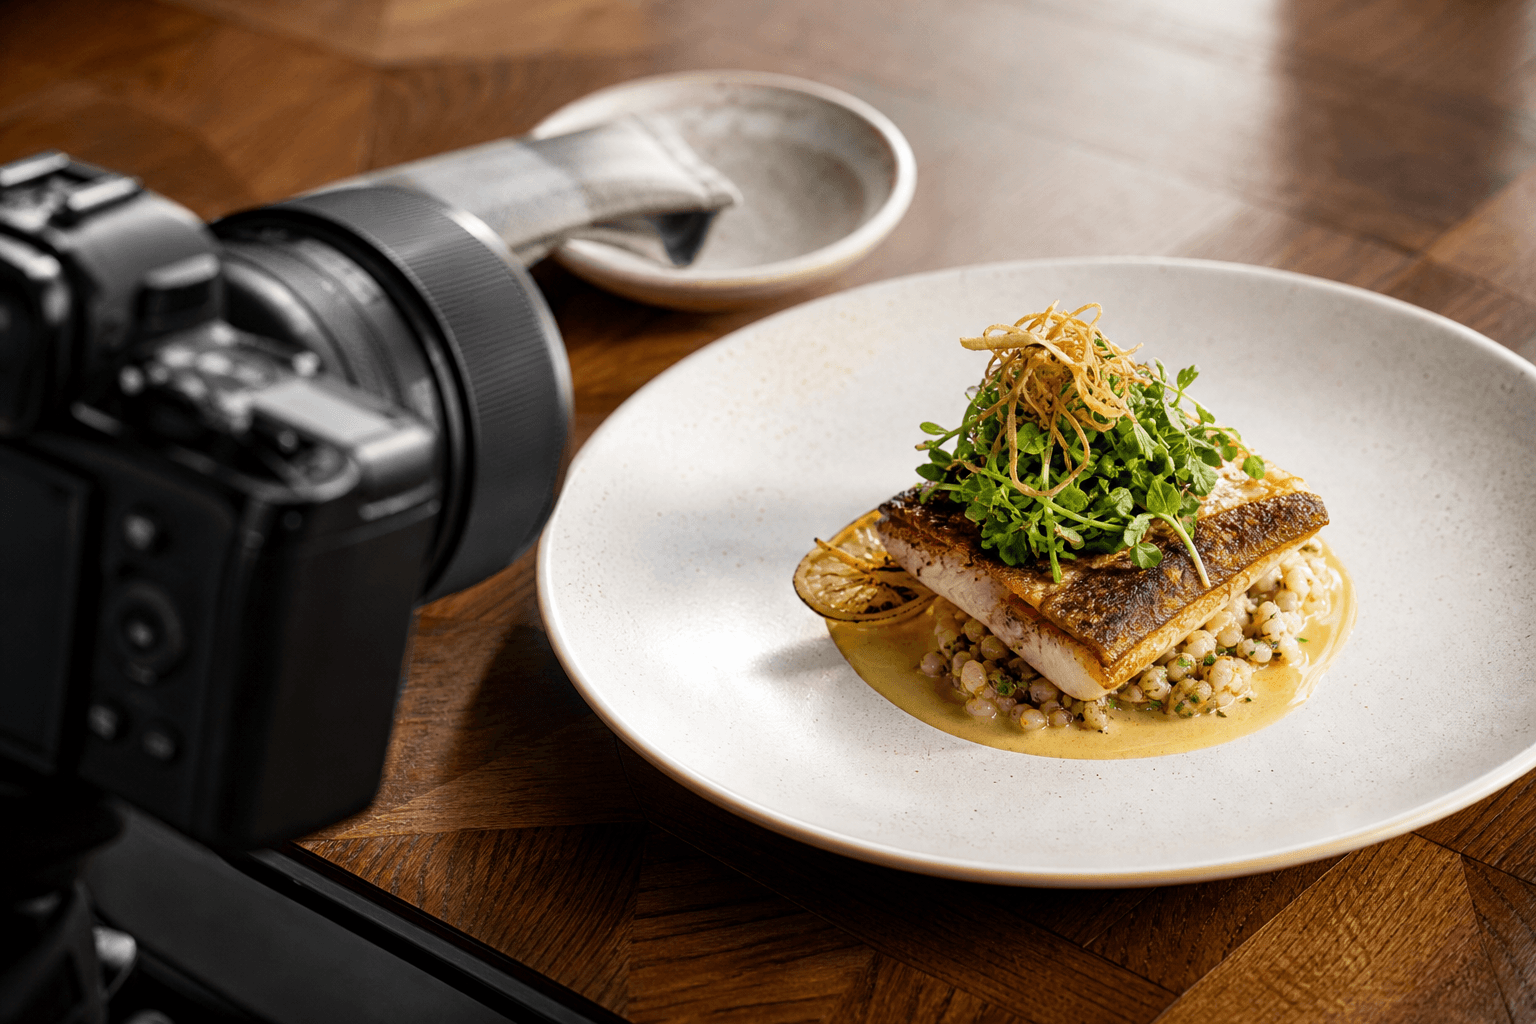
The best restaurant photography session does not begin with photographing every dish on the menu. Start with the items that matter most to your current goals, then decide how each image will be used across your menu, website, online ordering platforms, and social media.
A focused plan creates a more consistent image library and prevents important format requirements from being discovered too late. The same dish may need a clear menu image, a close-up for a website feature, and a vertical version for social content.
Quick summary

- Prioritize signature dishes, bestsellers, seasonal items, new launches, and strategically important menu categories.
- Assign every dish a primary use before the shoot, such as a printed menu, online ordering page, website, or social media.
- Choose orientations and compositions in advance instead of trying to crop one image for every channel.
- Prepare final recipes, consistent plating, garnishes, serving vessels, replacement portions, and clean surfaces.
- Add promotional video when preparation, movement, atmosphere, or a launch story needs to be shown. Keep still images central to menu clarity.
Choose the Menu Dishes to Photograph First
Photographing an entire menu can be unnecessary for a first session. Begin with dishes that define the restaurant, support a current promotion, or fill an important gap in your existing content.
| Priority | Dishes to consider | Why they belong on the shortlist |
|---|---|---|
| 1 | Signature dishes | They communicate what makes the restaurant distinctive. |
| 2 | Bestsellers | They represent items customers already seek out and recognize. |
| 3 | New launches | They need strong visuals before a new menu or promotion begins. |
| 4 | Seasonal specials | They may have a limited promotional window. |
| 5 | Chef-recommended items | They direct attention towards dishes the restaurant wants to feature. |
| 6 | Underrepresented categories | They help create a more balanced image library. |
For each possible dish, ask what decision the image should support. Is the goal to help someone identify the dish, understand its ingredients, notice its texture, or become interested in visiting? The answer will influence the composition, crop, and supporting content.
Start with signature, seasonal, newly launched, chef-recommended, or strategically important dishes rather than assuming the entire menu must be photographed at once.
Match Each Dish to Its Intended Use

A menu image and a social media image do not always have the same job. Menu and online ordering images should make the dish easy to recognize, while a social post may benefit from more atmosphere, context, or movement.
- Printed menus: Use a clean, readable image that supports the design without competing with dish names and descriptions.
- Website pages: Consider a polished hero image, supporting close-up, or wider image that reflects the restaurant’s identity.
- Online ordering and delivery listings: Prioritize clear views that show portion, presentation, and defining ingredients.
- Google Business Profile: Choose attractive, representative images that accurately show the food and restaurant experience.
- Social channels: Plan square, portrait, or vertical crops that support launches, promotions, or recurring content.
Do not assume one frame will work equally well everywhere. Confirm whether your designer, website manager, ordering platform, or social media team needs particular orientations, file sizes, or crop areas before the session.
If you are organizing dishes around a catering or event menu, shawarma catering menu ideas offer a useful example of connecting menu items to a specific customer occasion.
Define the Visual Direction Before the Shoot
Professional food photography should look appetizing while remaining recognizably connected to the dish customers receive. Agree on the visual direction before photographing multiple items so the final library feels consistent.
- Colour: Decide whether to use brand colours, neutral tones, or a warmer, more atmospheric palette.
- Surfaces: Select backgrounds and tables that support the restaurant’s identity without distracting from the food.
- Lighting mood: A bright, clean look may suit a fresh lunch menu, while a darker mood may fit an evening concept.
- Serving vessels: Use plates, bowls, boards, glasses, and cutlery that reflect the real dining experience.
- Garnishes: Confirm which finishing elements are part of the intended presentation.
- Context: Decide whether the dish should stand alone or appear with hands, ingredients, drinks, or surroundings.
Share examples of images you like, but explain what you like about them. It may be the lighting, framing, colour balance, negative space, or atmosphere rather than the exact styling.
Plan Composition and Image Formats
There is no single best angle for every dish. A full-dish view can explain presentation, while a close-up can emphasize texture, layers, sauce, toppings, or other details.
Useful compositions to discuss
- Full-dish view: Shows the complete serving and helps customers identify the item.
- Close-up: Highlights texture, ingredients, layers, or finishing details.
- Ingredient detail: Draws attention to a defining component or topping.
- Serving context: Places the dish in a wider restaurant or table setting.
- Overhead composition: Shows arrangement, colour, and multiple components clearly.
Plan orientations before the shoot. Landscape may suit website banners and some menu layouts. Portrait can work well for mobile screens and editorial pages. Square crops may suit some social uses, while vertical stills and video occupy more of a phone screen.
List the channels you actually use instead of requesting every possible format without a purpose. This helps the photographer frame subjects with practical cropping in mind.
Prepare the Dishes for Photographing
The shoot will be easier when the kitchen team knows exactly which recipes, portions, garnishes, and vessels are being photographed. Confirm that the photographed presentation represents the version customers are expected to receive.
Pre-shoot preparation checklist
- Confirm the final recipe and presentation for every selected dish.
- Prepare ingredients, garnishes, sauces, toppings, and finishing elements.
- Use consistent portions and serving vessels across replacement plates.
- Have extra portions available when a dish may need refreshing.
- Remove distracting marks, spills, packaging, or clutter from the shooting area.
- Identify the best time to coordinate preparation and service.
- Prepare brand elements, tableware, menus, packaging, or beverages if they belong in the context.
- Tell the photographer which dishes change quickly after plating.
Share menu descriptions and presentation notes before the appointment so everyone has a common reference for what each image needs to show.
When to Add Restaurant Promotional Video
Still photography is the foundation for menu clarity. Promotional video serves a different purpose by showing preparation, movement, ambience, a launch sequence, or the people and energy behind the restaurant.
Video may be useful for a new menu, signature item, preparation sequence, or social-first content library. A short vertical clip can show a pour, finishing step, service moment, or sequence of dishes in a way a still image cannot.
Video is not a substitute for a clear menu image. If customers need to understand a dish before ordering, a well-composed still remains important. Silver Valley Studios provides restaurant promotional content alongside photography, videography, vertical video, and broader brand content services. A supplied client review also describes a collaborative promotional video project for a new restaurant.
Specify whether you need one promotional piece, several short vertical clips, preparation footage, ambience, or a combination. The intended channels should shape the filming plan.
Create a Practical Restaurant Photography Brief
A short written brief can prevent avoidable misunderstandings. Send it before booking or use it as the agenda for an initial planning call.
Restaurant photography brief
- Project: Restaurant name, location, concept, and reason for the shoot.
- Priority dishes: Signature dishes, bestsellers, launches, seasonal items, and menu gaps.
- Intended uses: Menus, website, ordering, delivery listings, Google Business Profile, social media, or advertising.
- Visual direction: Desired mood, colours, surfaces, lighting, plating, and context.
- Compositions: Full-dish views, close-ups, ingredient details, layers, or atmosphere.
- Formats: Landscape, portrait, square, or vertical requirements.
- Video needs: Preparation, movement, ambience, launch story, or social clips.
- Timing and deliverables: Launch date, shoot window, and required assets.
Restaurant Photography Checklist Before You Book
- Have you identified the dishes that support your current goals?
- Does every selected dish have a clear intended use?
- Have you confirmed orientations and crop requirements?
- Are recipes, portions, garnishes, and serving vessels agreed on?
- Do surfaces, colours, backgrounds, and props fit the brand?
- Are replacement portions available?
- Have you decided whether video should show preparation, ambience, movement, or a launch?
- Have you provided references, deadlines, platform requirements, and deliverable expectations?
Keep the first session focused enough to produce a coherent set of images. A later session can cover seasonal specials, new dishes, or a different visual direction.
Frequently Asked Questions
How many menu dishes should a restaurant photograph in one session?
There is no universal number. Start with dishes supporting immediate goals, then consider preparation time and the number of compositions required for each.
Should menu dish photos be portrait or landscape?
Choose based on where the images will appear. Landscape may suit website banners, while portrait and vertical formats can work well for mobile and social content.
Do restaurants need separate images for online ordering and social media?
Not necessarily, but the uses often have different priorities. Ordering needs clarity, while social media may benefit from atmosphere, close-ups, portrait crops, or video.
Can restaurant photography and promotional video be planned together?
Yes. Coordinate dishes, styling, preparation, movement, and timing, while keeping the deliverables distinct. Still images clarify menu items, while video shows action and atmosphere.
What should a restaurant send a photographer before the shoot?
Send the priority dish list, menu descriptions, platforms, visual references, orientations, brand guidelines, timing constraints, and video requirements.
Conclusion: Start With the Dishes That Matter Most
Effective restaurant menu dish photography begins with prioritization. Select the dishes that best represent the restaurant or support its current marketing needs, then match each image to the channel where customers will see it.
Before booking, agree on visual direction, compositions, orientations, preparation details, and deliverables. Add promotional video when you need to show movement, preparation, ambience, or a launch story, while keeping clear still images as the foundation of menu and ordering content.
Silver Valley Studios Inc. is based in Maple Ridge, British Columbia, and provides restaurant promotional content alongside photography, videography, vertical video, and broader brand content services for regional clients. To discuss restaurant photography and promotional content planning, visit Silver Valley Studios Inc..