

Last updated: October 2026
Key takeaway:Real estate videography uses planned filming, camera movement, sound, and editing to show how a property looks and feels in motion. A strong listing package usually combines a main cinematic tour with a short vertical edit, still photography, a floorplan, and drone footage when the property’s setting or scale makes it useful.
By Sumeet S. - Founder & CEO, Silver Valley Studios Inc.
Updated: October 2026
What this real estate videography guide covers
Real estate video is most useful when it answers practical buyer questions before a showing: How do the rooms connect? Is the home bright? Does the yard feel usable? What is the approach to the property? Good production is not simply a camera moving through every room. It is a visual plan that selects the details most likely to help a qualified buyer decide what to do next.
This guide explains how to choose a format, prepare a property, organize a shoot, and turn the footage into channel-ready media. It also covers Maple Ridge conditions, drone decisions, accessibility, and accuracy when listing content is published.
- How video adds flow, scale, light, and context beyond still photography
- What to include in a 90–120 second tour and a 20–45 second vertical edit
- How preproduction, filming, editing, and delivery fit together
- When drone footage, agent appearances, voiceover, or a floorplan improve clarity
- How to prepare a Maple Ridge property for changing weather and daylight
What is real estate videography?
Real estate videography is the professional creation of moving-image content for a property listing or real estate brand. It combines composition, lens choice, camera movement, natural or supplemental light, sound, editing, and delivery planning. The finished video can be used on a listing page, YouTube, social platforms, email, or a realtor’s own marketing channels.
Still photographs remain important because they let a viewer compare rooms and details at their own pace. Video adds sequence and context. A controlled move from the entry into the living area can explain circulation; a gradual exterior reveal can show the relationship between the home, yard, driveway, and surrounding setting.
What video adds beyond photographs
- Flow: A deliberate route shows how spaces connect instead of presenting isolated rooms.
- Scale: Movement and carefully chosen wide views help viewers interpret room proportions, ceiling height, and sightlines.
- Light: A sequence can communicate how windows, views, and transitions between rooms shape the atmosphere.
- Context: Exterior footage can clarify access, landscaping, outdoor living, and the property’s relationship to its lot.
- Human explanation: Captions, voiceover, or a brief agent introduction can provide useful orientation without overwhelming the tour.
The goal is not to make a home appear different from reality. The goal is to present its genuine strengths clearly, with natural colour, stable movement, and an edit that respects the viewer’s time.
Why listing video matters
A listing video gives a prospective buyer another way to assess fit before arranging a visit. That can be particularly helpful for multi-level homes, larger properties, new construction, homes with strong views, and listings being considered by people who are not yet nearby.
Video also gives an agent a reusable piece of communication. A main tour can support the listing presentation, while shorter extracts can introduce the property on Instagram, TikTok, email, or a client database. The same visual language across those placements makes the launch feel considered rather than assembled from unrelated clips.
What makes a video useful to a buyer
- It shows the property in a logical order rather than jumping randomly between rooms.
- It includes enough context to understand the layout without claiming to replace an in-person inspection.
- It keeps colours, vertical lines, and exposure consistent so finishes are represented honestly.
- It works with sound off through readable captions or clear on-screen labels.
- It ends with an obvious next step, such as contacting the listing representative or arranging a showing.
There is no single edit length that suits every property. A compact condo may be explained efficiently with a short, energetic cut, while an acreage or architecturally distinctive home needs more time for approach, exterior context, and transitions between zones.
How the real estate videography process works
A dependable production follows three connected phases: preproduction, filming, and postproduction. The exact schedule depends on access, property size, staging, weather, and the number of deliverables, but defining the story before arriving keeps the shoot efficient and the final edit focused.
1. Preproduction: define the story
Before the shoot, identify the likely buyer, the strongest features, and any spaces that need explanation. A family-oriented property may need emphasis on storage, mudroom flow, bedrooms, and the backyard. A view home may need a carefully timed exterior sequence, while a new build may benefit from a floorplan and a slow route that makes an unfurnished layout easier to understand.
- Confirm the address, access instructions, parking, occupancy, and any pets.
- Agree on the hero features and the preferred order of rooms.
- Prepare a shot list covering approach, exterior, entry, key living spaces, bedrooms, bathrooms, storage, and outdoor areas.
- Set a weather and daylight alternative for exterior footage.
- Choose the required versions: main tour, vertical edit, drone sequence, agent appearance, stills, or floorplan.
2. Production: capture stable, truthful footage
On site, preparation comes before recording. Counters, cords, bins, personal photographs, and distracting labels should be addressed where appropriate. Bulbs should be checked, blinds aligned, and doors positioned consistently. These small adjustments protect continuity and reduce time spent trying to repair distractions in postproduction.
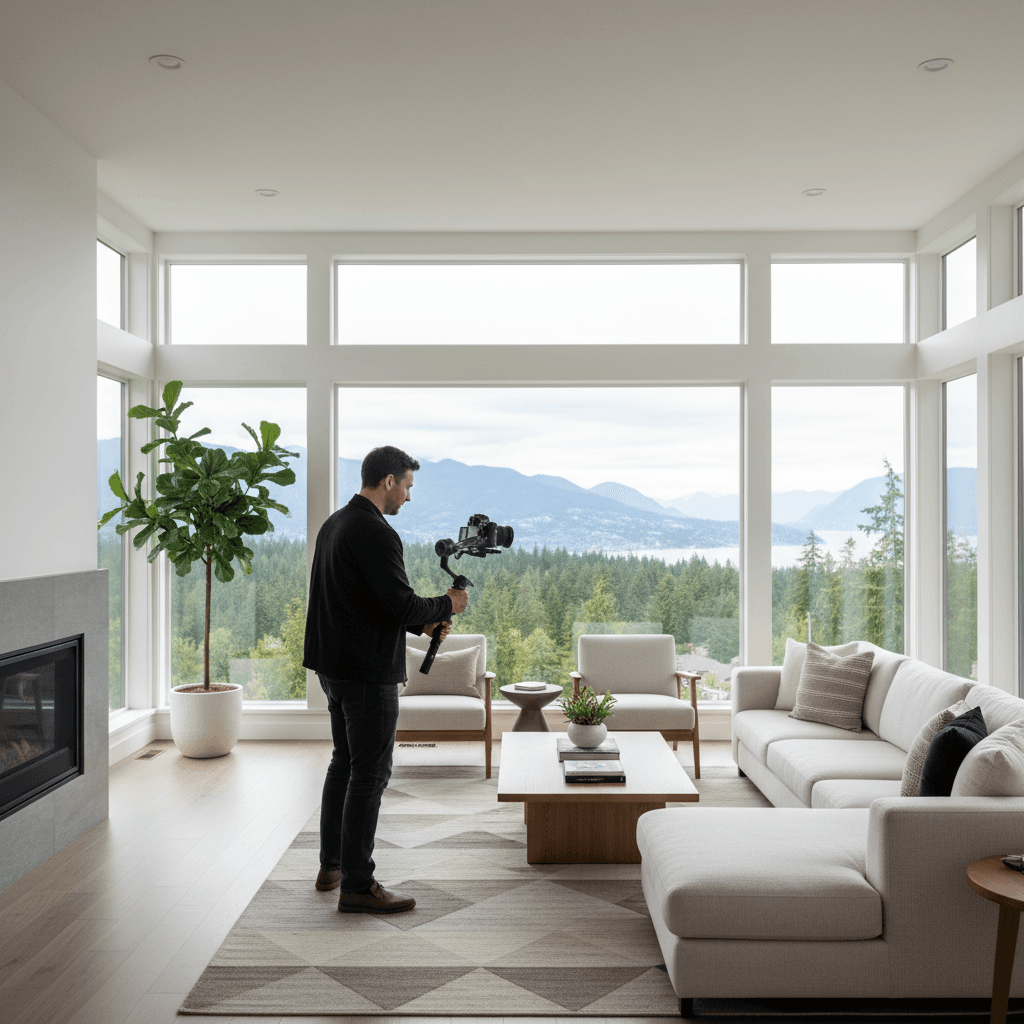
Interior movement should be slow enough for a viewer to understand the space. A gimbal can create smooth transitions, while a tripod or locked-off shot can give an important feature room to register. The crew should also capture detail cutaways and clean ambient sound when those elements will support the edit.
3. Postproduction: shape the viewer’s journey
Editing begins with selection, not effects. The strongest opening image should establish the property’s appeal quickly, followed by a logical progression through the home. Colour correction should keep whites, wood tones, and exterior exposure consistent; music should support the property rather than overpower it.
- Main tour: Usually a complete, landscape-oriented presentation for a listing page or YouTube.
- Vertical edit: A shorter mobile-first cut built around one or two strong visual ideas.
- Supporting clips: Short extracts for stories, reels, email, or agent updates.
- Captions and titles: Helpful for sound-off viewing and for identifying an area without cluttering the frame.
- Final review: Check spelling, branding, property details, privacy concerns, and consistency with the approved listing information.
Typical workflow and outputs
| Phase | Key decisions | Typical output |
|---|---|---|
| Planning | Audience, shot list, schedule, property preparation | Call sheet and visual plan |
| Filming | Interior movement, details, exterior context, optional drone | Organized 4K source footage and audio |
| Editing | Story order, colour, music, captions, branding | Main tour and approved social versions |
| Delivery | File naming, aspect ratios, thumbnails, usage destinations | Channel-ready media package |
For an end-to-end listing package, review the real estate media services available from Silver Valley Studios Inc., including photography, video, drone coverage, and 2D floorplans.
Which real estate video format should you choose?
The right format depends on the property, the audience, and where the content will be published. It is usually more effective to create one strong primary story and adapt it for different placements than to film unrelated versions from the beginning.
Cinematic listing tour
A 90–120 second tour is a practical starting point for many detached homes, townhomes, and premium properties. It can establish the exterior, guide viewers through the principal rooms, pause on distinctive details, and close with a clear action. A shorter or longer cut may be appropriate when the property is unusually compact or extensive.
Vertical social edit
A 20–45 second vertical video is designed for mobile viewing. It should not be a random crop of the main film. Select a clear hook, use readable captions, protect important details from interface overlays, and keep the sequence understandable even when watched without audio.
Drone footage
Drone footage earns its place when the lot, views, access, landscaping, waterfront relationship, or surrounding geography influences the decision. A brief approach, orbit, or pull-away can add useful context. It is less valuable when it merely repeats an interior story or shows a generic aerial view with no connection to the listing.
Agent introduction or voiceover
A five-to-ten-second introduction can build recognition and make the presentation feel personal. Voiceover is useful when a layout, renovation, or neighbourhood connection genuinely needs explanation. Keep spoken information accurate, concise, and consistent with the approved property details.
Best practices for real estate videography
Prepare the property for the camera
Decluttering is not about removing every sign of daily life. It is about giving the architecture and important features enough visual space to read. Clear kitchen counters, hide loose cables, remove bins and temporary items, align blinds, and decide how vehicles, pets, and personal belongings will be handled before filming begins.
Keep movement and perspective controlled
Fast pans, extreme wide-angle distortion, and constant motion can make a home difficult to judge. Use a consistent camera height, move with purpose, and let important rooms breathe. Straight vertical lines and realistic proportions matter more than a dramatic effect that makes the property feel unfamiliar in person.
Edit for clarity and accessibility
Place the most compelling scene near the opening, but do not conceal essential context. Use captions for spoken information, keep text large enough for mobile screens, and avoid placing logos over important architectural details. A thumbnail should show a genuine strength of the property and remain legible at a small size.
Keep advertising accurate
Listing media should represent the property honestly. Avoid digitally adding views, changing room proportions, removing permanent defects, or presenting a feature as included when it is not. In British Columbia, real estate advertising guidance warns against false or misleading property claims and digitally altered or enhanced photos that misrepresent the home. A production review should therefore compare titles, captions, voiceover, floorplans, and edited footage with the approved listing information before publication.
Tools and visual quality
Professional results come from decisions made on location, not from equipment alone. Silver Valley Studios Inc. uses full-frame mirrorless cameras, wide interior lenses, stabilized movement, variable neutral-density filters, and colour-managed editing workflows to keep footage natural and consistent.
- Camera and lens: A full-frame camera and a carefully used wide lens can show space without making rooms look unnaturally stretched.
- Stabilization: A three-axis gimbal supports smooth transitions; a tripod is useful for still architectural views.
- Exposure: Controlled exposure protects window detail while keeping interiors bright and inviting.
- Colour: Consistent white balance helps walls, flooring, cabinetry, and trim remain believable from room to room.
- Audio: Clean natural sound or a properly recorded agent track can add depth, while music should remain licensed and appropriately mixed.
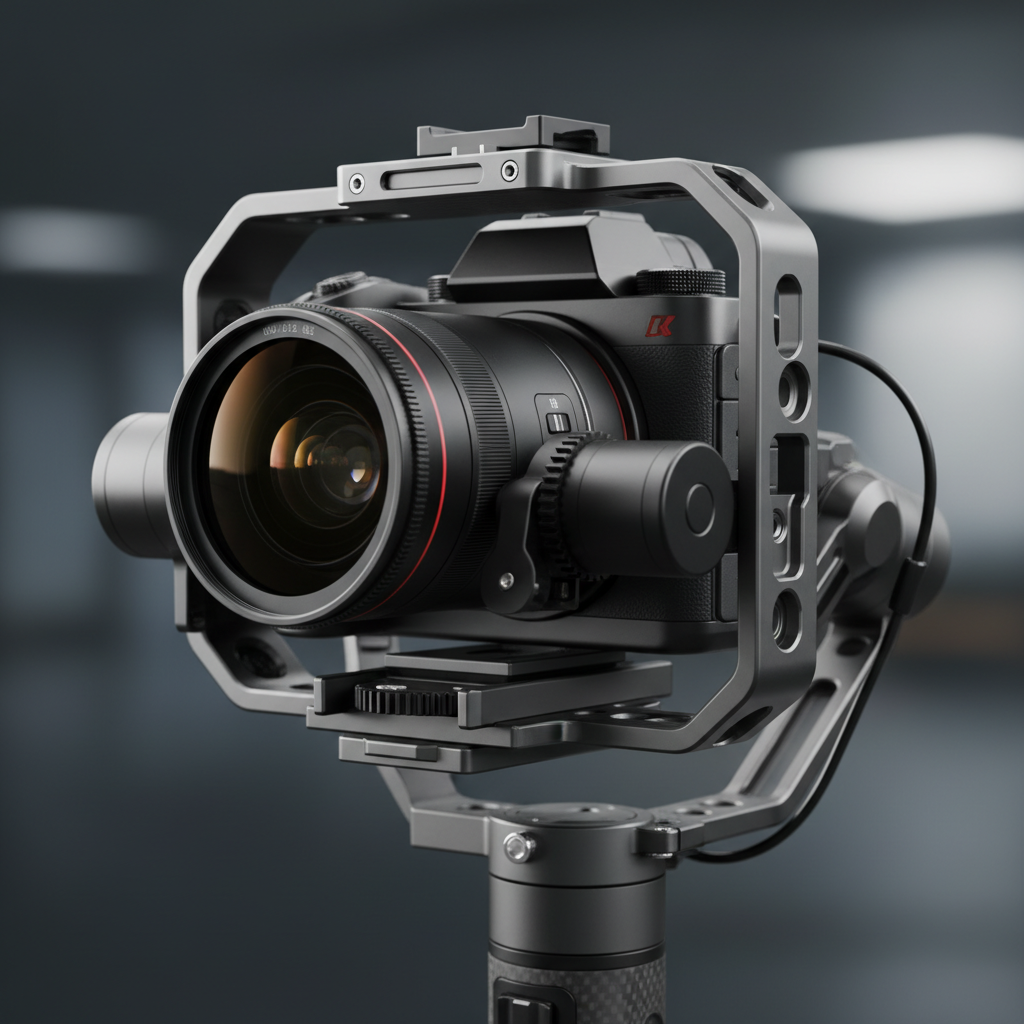
Equipment should serve the property’s story. A lens choice for a compact condo will not necessarily suit a large acreage, and a drone sequence should be planned around the feature it is meant to explain. You can compare visual approaches in the studio portfolio.
Real estate videography in Maple Ridge
Maple Ridge properties often benefit from flexible scheduling because weather and daylight can change quickly. Longer summer evenings can provide warm exterior light, while fall and winter shoots may need a tighter plan, rain protection, entry mats, and a backup window. Outdoor living, storage, mudrooms, garages, yards, and views should be included when they are genuine decision factors for the home.
Filming on private property still requires respectful planning around neighbours, occupants, access, and privacy. If a production needs to use city property or a sensitive public location in Maple Ridge, the applicable municipal filming process should be checked in advance. A production coordinator or city film liaison may require documentation, a deposit, or location-specific arrangements, so this should not be left until the day of the shoot.
A practical Maple Ridge preparation checklist
- Choose an exterior window that matches the direction of the best light.
- Confirm a rain alternative before staging and crew travel are finalized.
- Protect floors and entry areas during wet-weather filming.
- Show outdoor and storage features without implying that temporary items are included.
- Confirm permission and operational requirements before filming in public or sensitive locations.
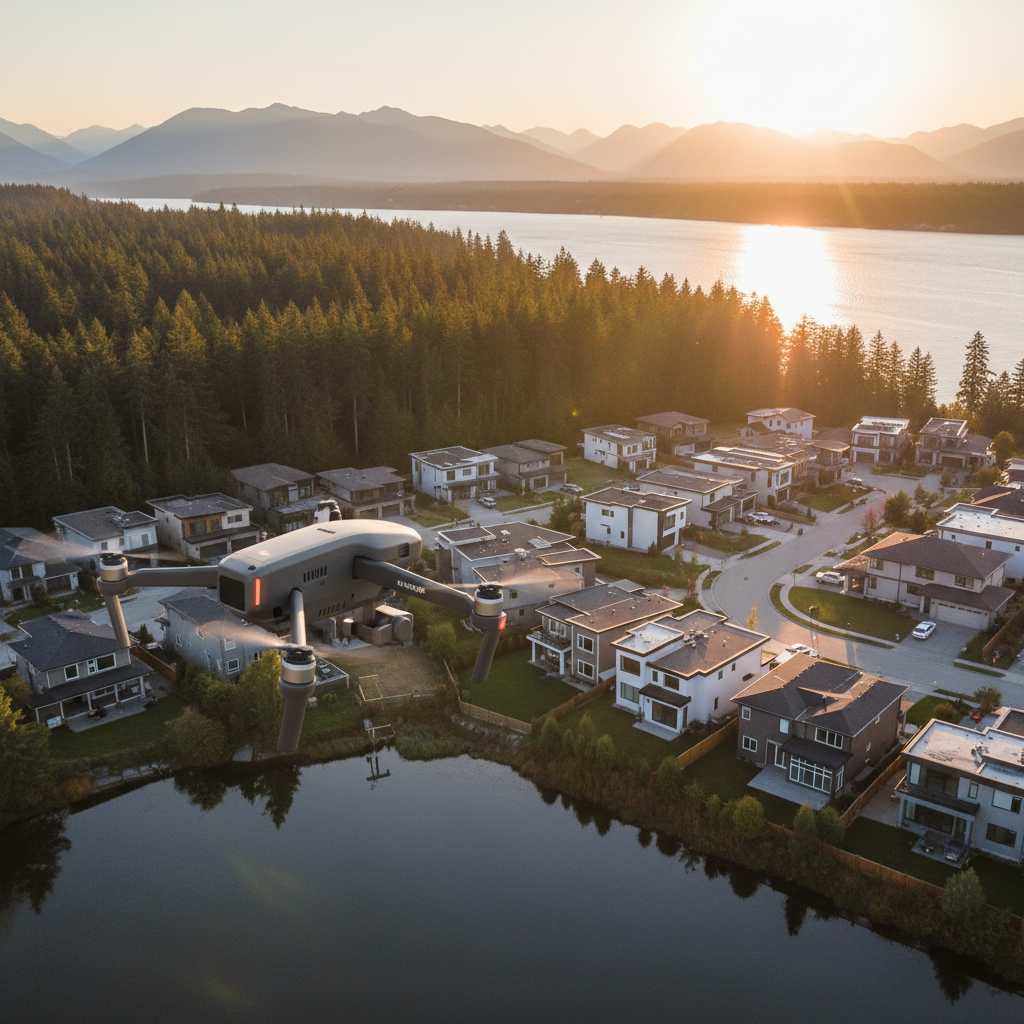
Silver Valley Studios Inc. is based in Maple Ridge and serves communities including Langley, Surrey, Coquitlam, Abbotsford, Mission, Chilliwack, Burnaby, and Richmond, as well as broader regional clients. The production plan should still be tailored to the specific property rather than applying the same shot list everywhere.
Building a complete real estate media package
Video works best when it agrees with the rest of the listing. Photographs can provide detailed reference points, a 2D floorplan can clarify orientation, and video can show movement and atmosphere. When the three tell the same story, buyers can move between formats without encountering conflicting room names, layouts, or claims.
A practical package might include a main landscape tour, a vertical teaser, selected still photographs, a floorplan, and drone footage when the setting warrants it. The deliverables should be agreed before filming so the crew captures the correct orientations, details, and exterior material rather than trying to create every version from limited footage later.
For commercial spaces, the emphasis may shift toward customer flow, frontage, work zones, signage, or brand atmosphere. The same principles apply: define the audience, show the important sequence, and make every visual claim verifiable.
Frequently asked questions about real estate videography
How long should a real estate video be?
A main listing tour commonly works within a 60–120 second range, but the property should determine the final length. A short vertical edit often works within 20–45 seconds. The important measure is whether the edit explains the home clearly without repeating similar angles or delaying the strongest information.
Is drone footage necessary for every listing?
No. Drone footage is most useful when lot size, views, access, landscaping, or surrounding context affects the buyer’s decision. For a compact interior-focused listing, a carefully filmed walkthrough and accurate floorplan may provide more useful information than an aerial sequence.
What should a homeowner do before the videographer arrives?
Remove clutter, personal documents, loose cords, bins, and temporary items; clean windows and reflective surfaces; align blinds; replace inconsistent bulbs; and decide how pets and vehicles will be managed. Ask the agent or production team whether any feature needs special preparation, such as a fireplace, pool, yard, or home office.
How far in advance should a listing video be scheduled?
Scheduling several days before the intended launch gives time for staging, weather planning, filming, editing, review, and uploading. The exact lead time depends on the property and deliverables. If drone footage or a floorplan is required, confirm those elements early so they do not become a last-minute addition.
Plan real estate videography around the buyer’s decision
Effective real estate videography is a communication tool, not just a collection of attractive shots. Begin with the buyer’s questions, choose a route that explains the property, film with controlled movement and honest perspective, and deliver versions that suit the listing page and mobile platforms.
For a Maple Ridge or regional listing, allow time for preparation, weather, exterior light, permissions, editing, and an accuracy check. When video is coordinated with photographs, floorplans, drone coverage, captions, and the agent’s call to action, the finished media gives viewers a clearer reason to take the next step.
Plan your next listing video
Silver Valley Studios Inc. can help plan a property-specific media package around the home, launch schedule, and intended audience. Contact the studio to discuss your next listing and determine which combination of video, photography, floorplans, and drone coverage will communicate it most clearly.